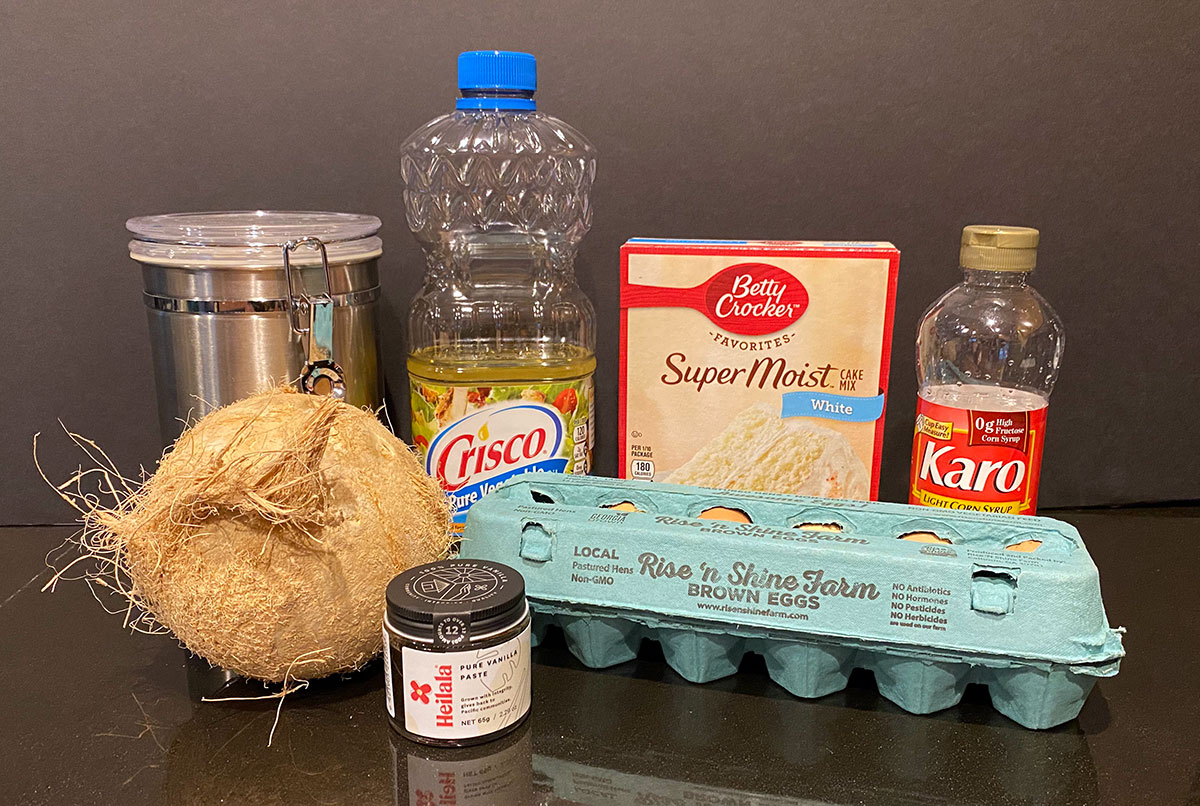
- Preheat Oven to 350º
- Drain the Coconut
Wrap a kitchen towel around the bottom of your coconut and settle it into a large bowl. Take a big nail (or something similar) and hammer it into two of the three indentations at the top of the coconut. Turn the coconut over and let is sit atop a bowl or large measuring cup to drain completely.
- Prep Your Pans
Get your pans ready for baking by lining the bottom of each with parchment and then spray well with baking spray.
- Mix the Cake Batter
Mix the cake batter according to the package directions EXCEPT substitute the water with the coconut water you drained from the coconut. Also, even if the cake mix box calls for egg whites, use the whole egg. Mix all ingredients together until well incorporated. I recommend doing it by hand with a whisk and mixing just until everything has been moistened. Over mixing cakes can quickly make them tough and dry.
- Pour Into Baking Tins & Bake
Pour the batter in to your baking dish. I use a small kitchen scale to make sure they're about even in each of the two baking dishes. Bake them in your preheated over for about 25-30 minutes (or according to the package directions).
- Allow the Cakes to Cool
When the cakes are ready and a toothpick inserted into the center of each cake comes out clean, take them out of the oven and allow to cool on a wire rack for 10 mintues. After 10 minutes, take a butter knife and run it around the edges of each cake and gently flips the cakes over onto the wire wracks. Allow them to rest on the wire racked (inverted) until completely cool. About two hours.
- Shred the Coconut
While the cakes are baking and cooling, now is the time to grate the coconut. You'll want to hammer the coconut shell to break it up into smaller chunks. If it doesn't break apart easily, you can pop it into the oven for a few minutes to help the shell dry out and crack. About 10 minutes should work. Put a towel over the coconut while you hammer so you don't have chunks flying everywhere. Once you've broken it apart, you'll want to separate the white part from the shell. This may require using a paring knife to cut it away. Then, there will still be a harder, brown outside skin on the coconut meat. Remove that with a knife or vegetable peeler. (I found a knife was a bit easier). Next, take your coconut chunks and great them by hand or in a food processor with the grating attachment. Be sure to sneak a few pieces to nibble on while you're grating. Baker's treat!
- Make the Frosting
Grandma always frosted the cake with Seven-Minute Frosting. Here's Martha Stewarts recipe for that which is nearly identical to what Grandma always did: https://www.marthastewart.com/344305/seven-minute-frosting
- Assemble and Decorate the Cake
Once the cake pieces have cooled completely, it's time to decorate. Put your first cake on your serving dish and keep it inverted. This way the top is flat. Spread about 3/4 cup or more of the frosting over this layer and sprinkle a good handful of shredded coconut. Next, top the cake with the remaining layer, again inverted. Frost the entire cake with the remaining frosting and then cover it with as much of the shredded coconut as you possibly can. Refrigerate for at least 30 minutes before eating and keep any leftovers refrigerated as well.


