Share this:

Ingredients

  • 1 Cup Butter
  • 2 Cups Light Brown Sugar
  • 1 1/2 Cups Peanut Butter
  • 2 Eggs
  • 1 1/2 teaspoons (divided) Vanilla
  • 2 1/2 Cups All Purpose Flour
  • 1 teaspoon Baking Powder
  • 1 teaspoon Baking Soda
  • 1 3/4 Cups Chopped Peanuts
  • 3 Ounces Cream Cheese (softened)
  • 3 Tablespoons Light Corn Syrup
  • 1 Cup Chocolate Chips (melted)
  • 1/2 Cup Powdered Sugar

Peanut Butter Thumbprint Cookies

Impressive looking cookies that taste as good as they look!

1 hour, 30 minutes

Serves: 42

Medium

A classic flavor combination with a fun presentation.

Peanut Butter Thumbprint Cookies Ingredients

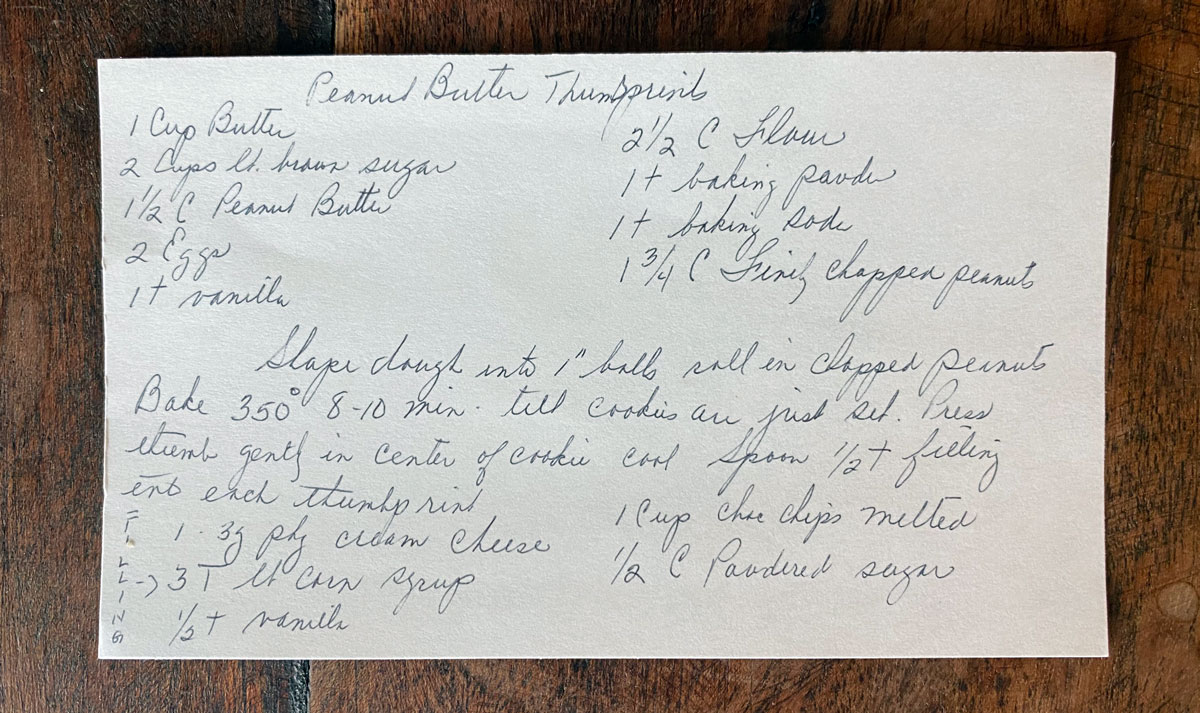
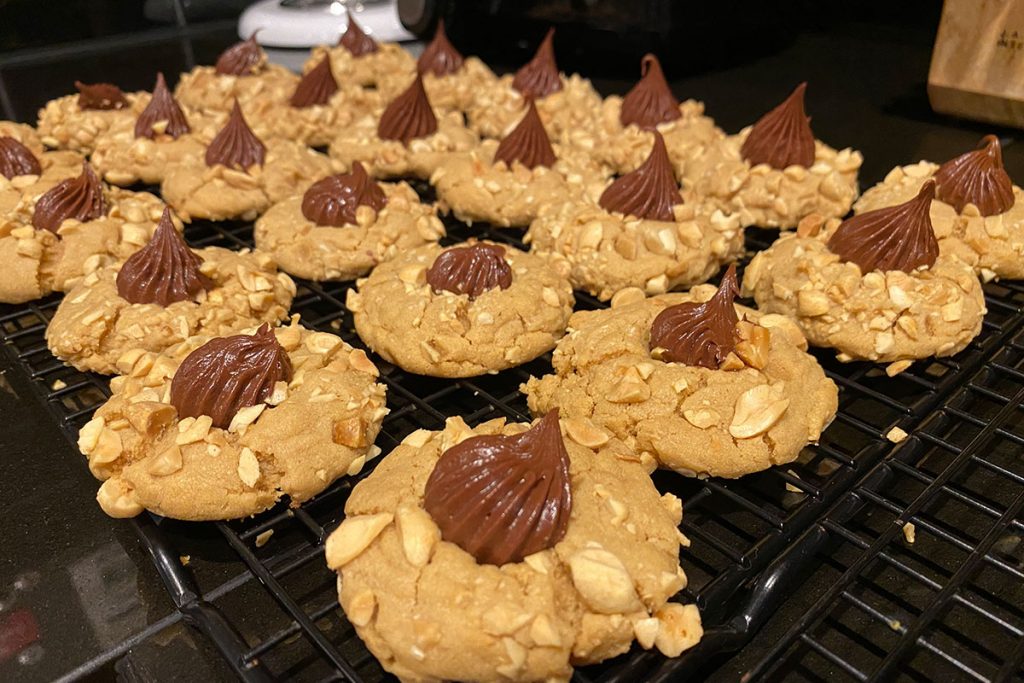
Ok, the these Peanut Butter Thumbprint Cookies are a bit of a project but boy are they worth it! This appears to be a classic, vintage recipe from my Grandma’s recipe tin, but just like the Plantation Chicken Casserole, no one really remembered them after I made them. Oh well, they’re awfully good so I’m glad I brought them back into the light!

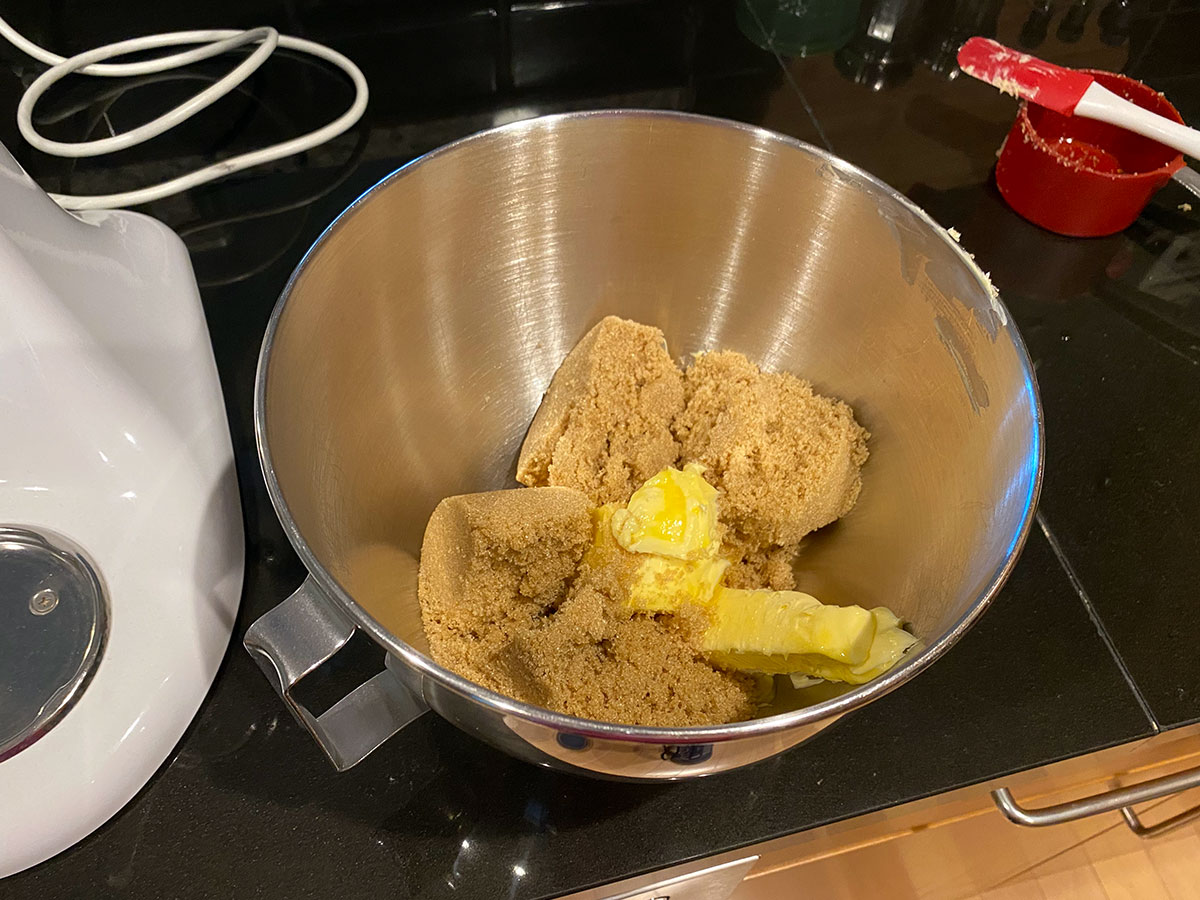
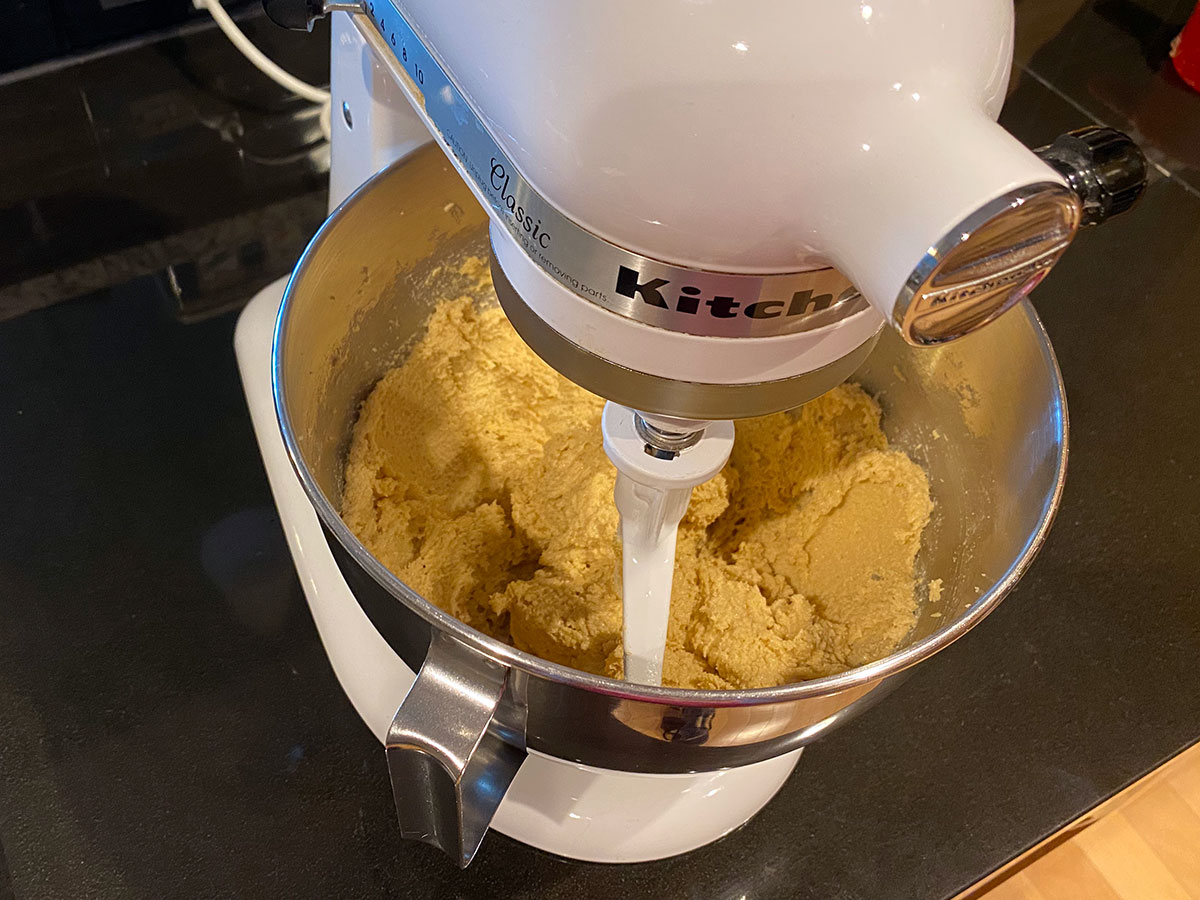
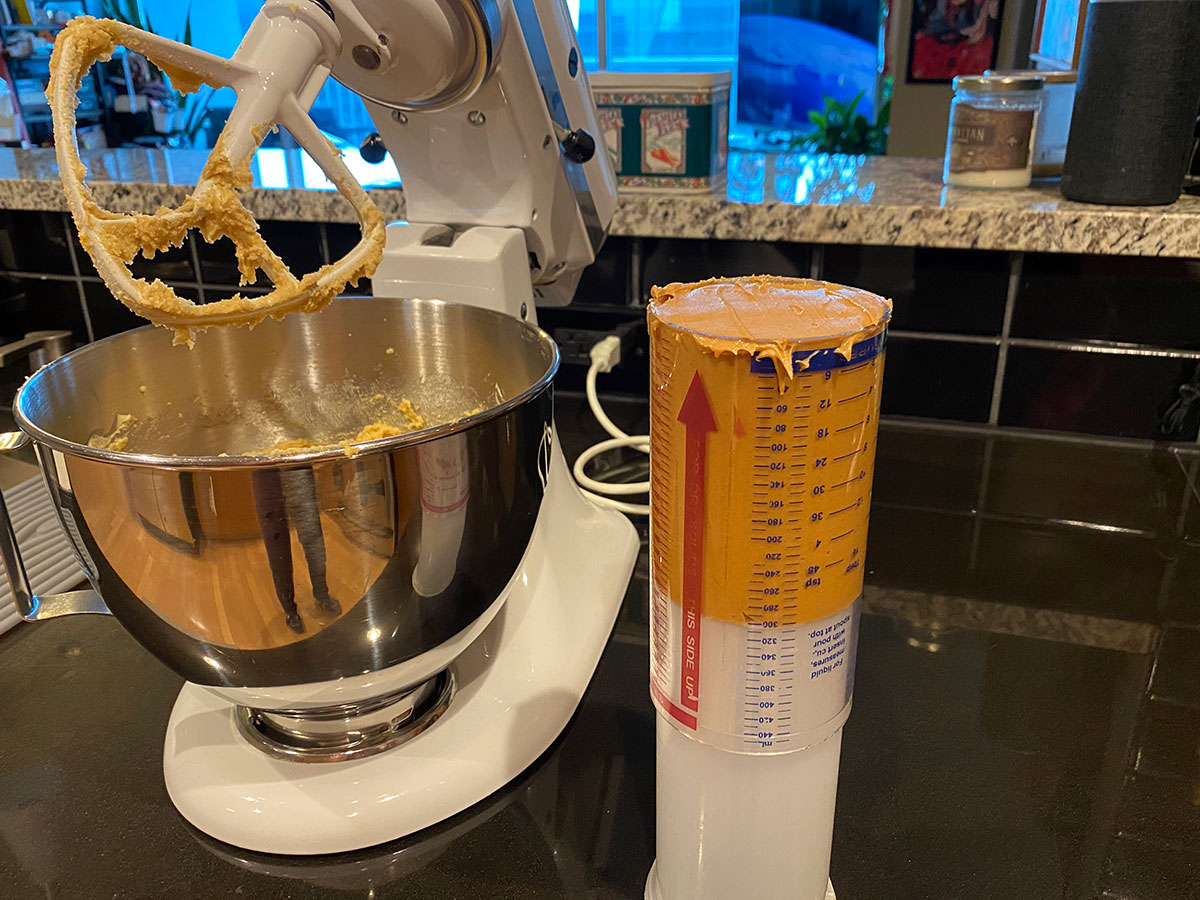
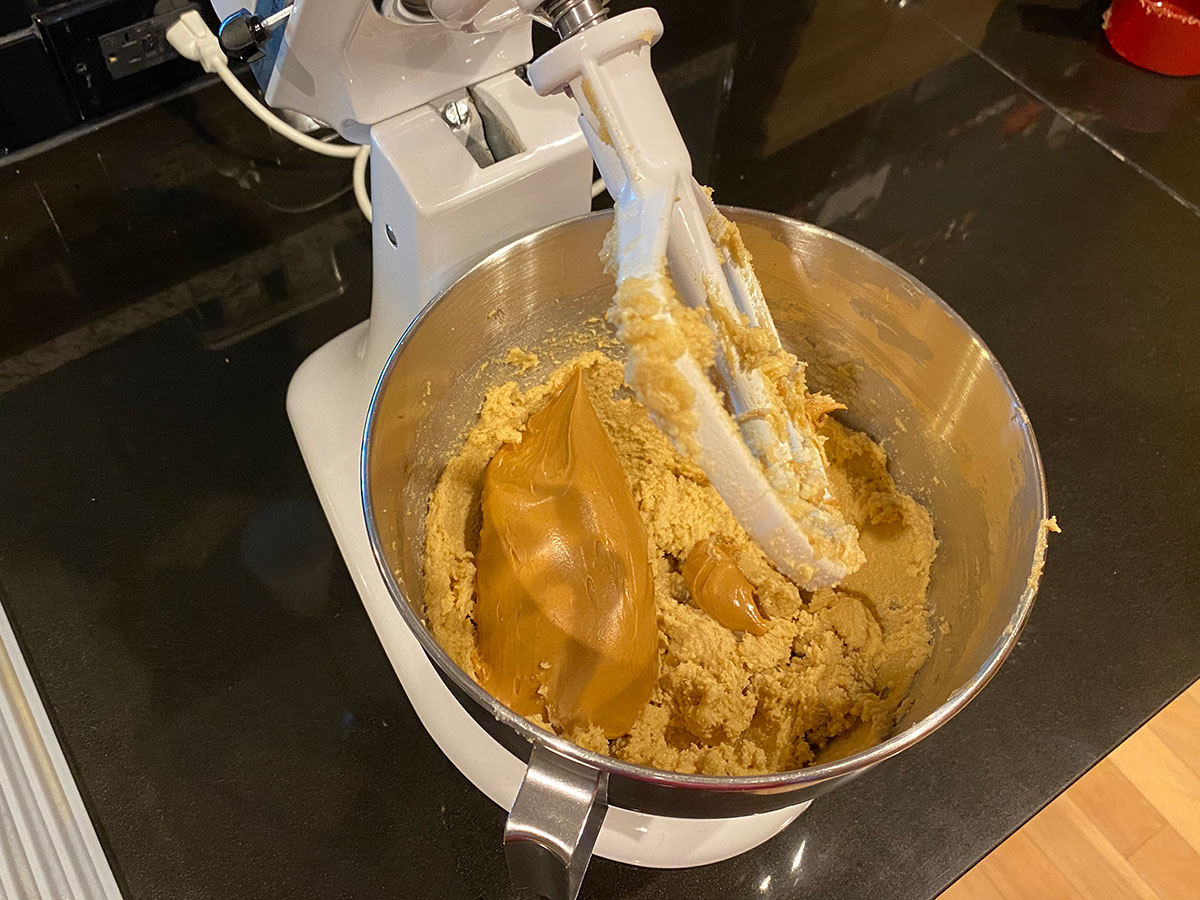
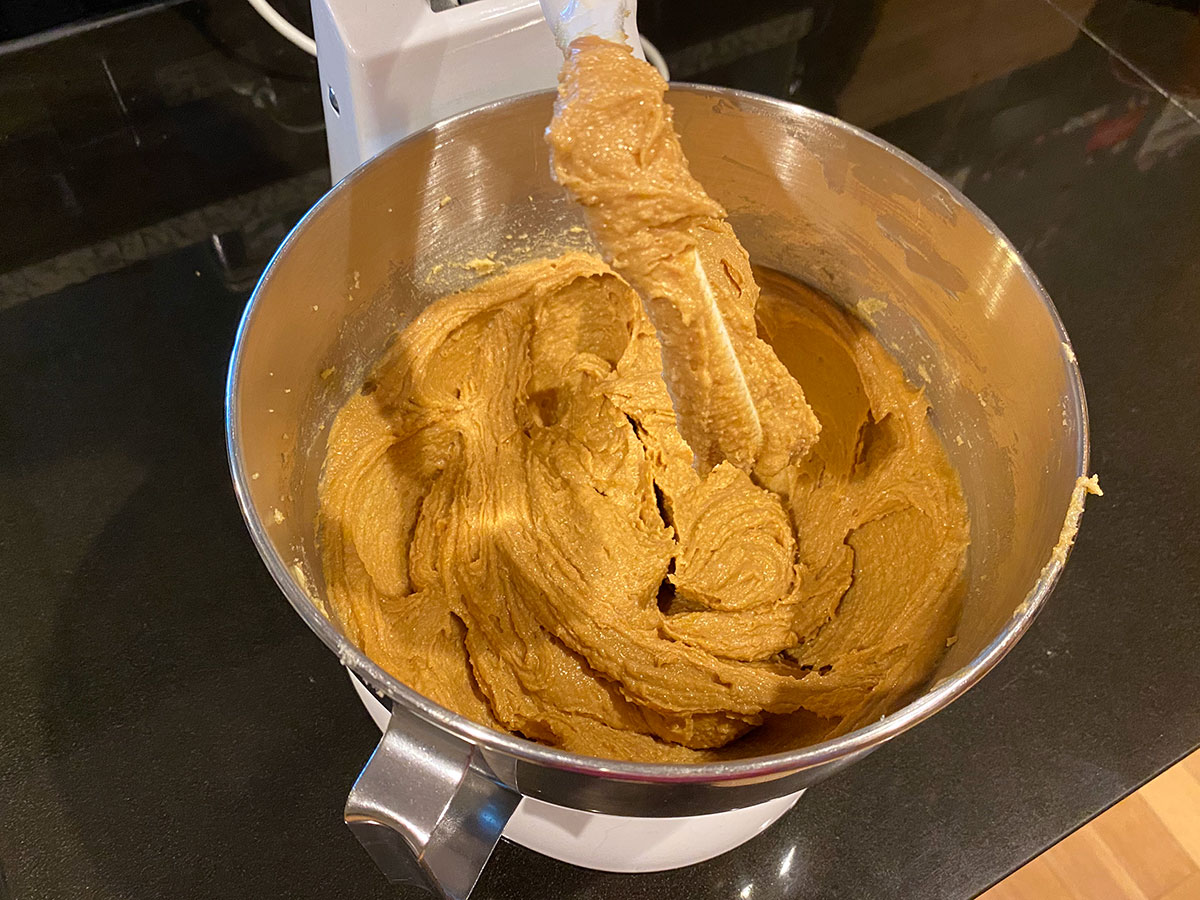
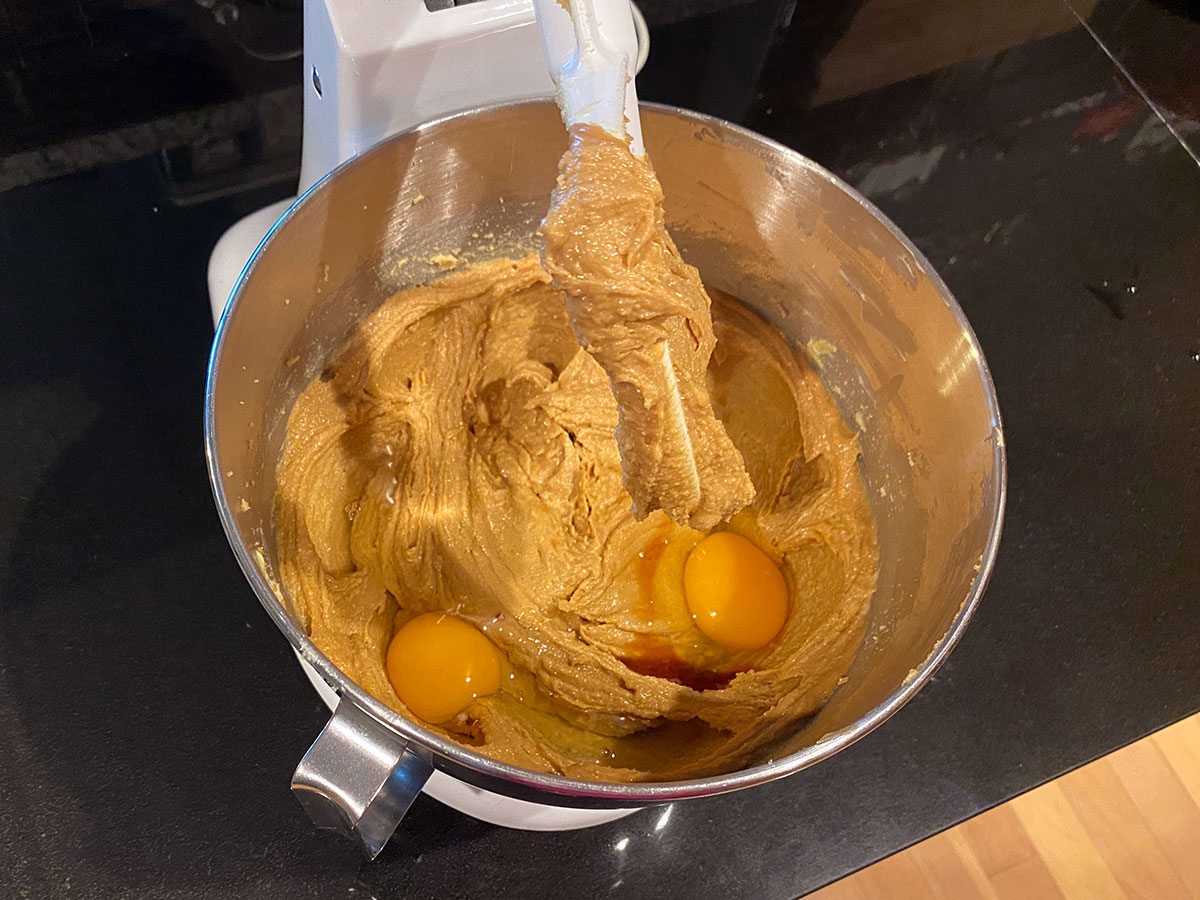
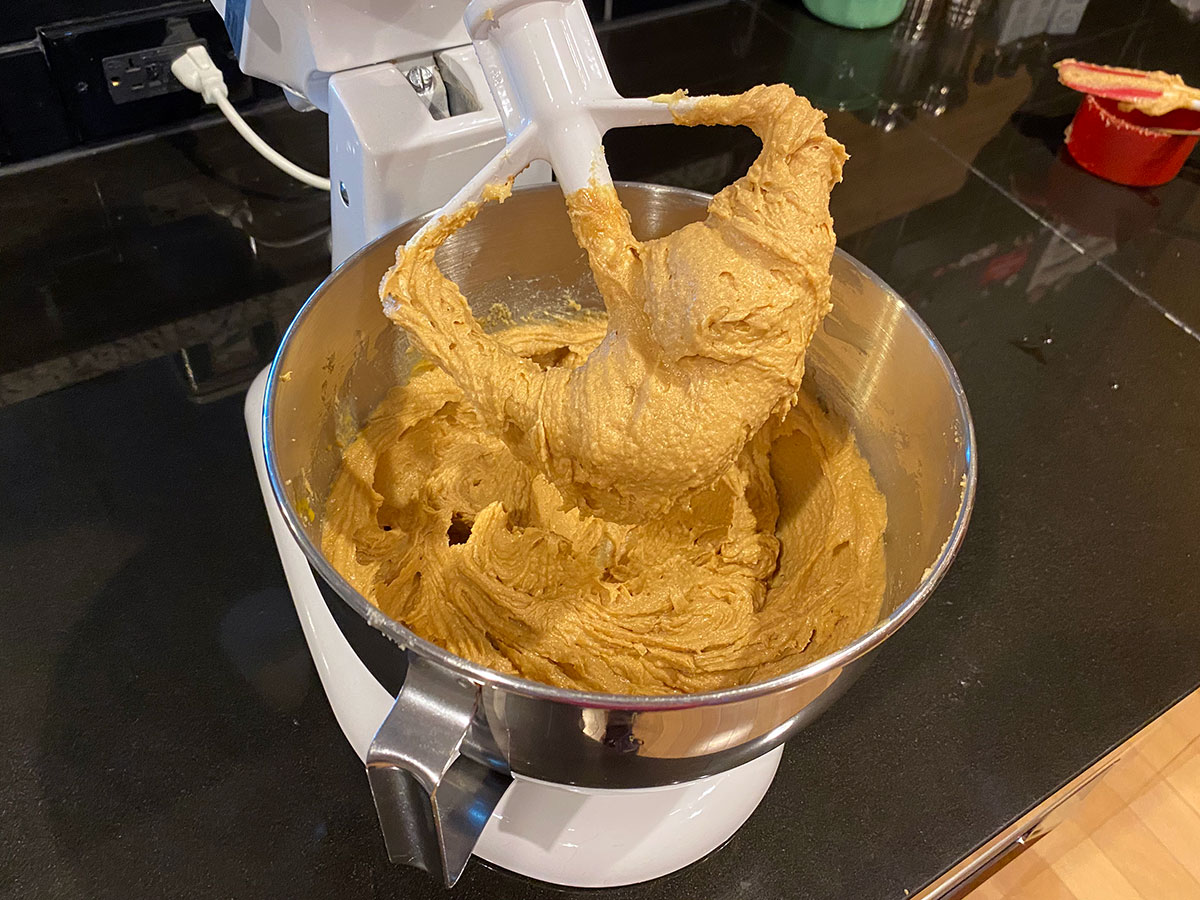
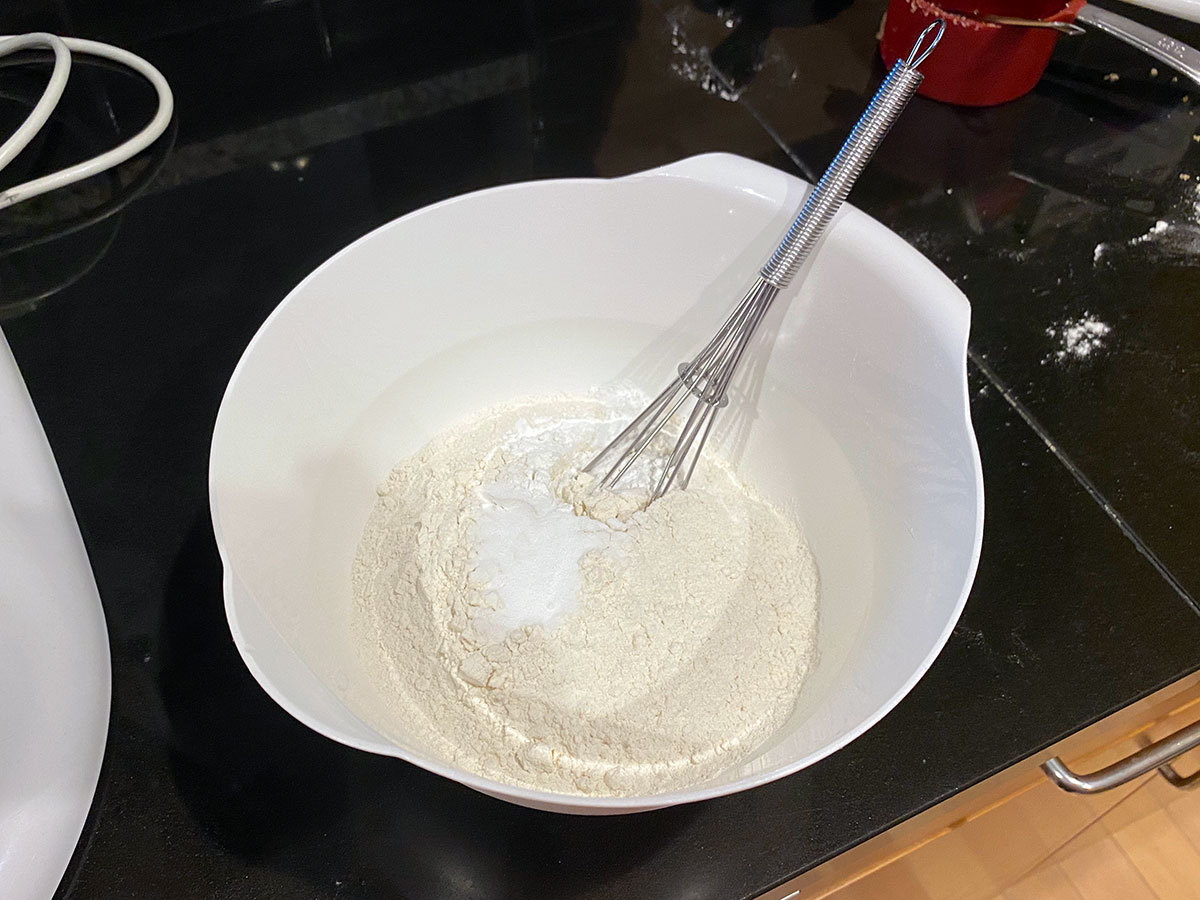
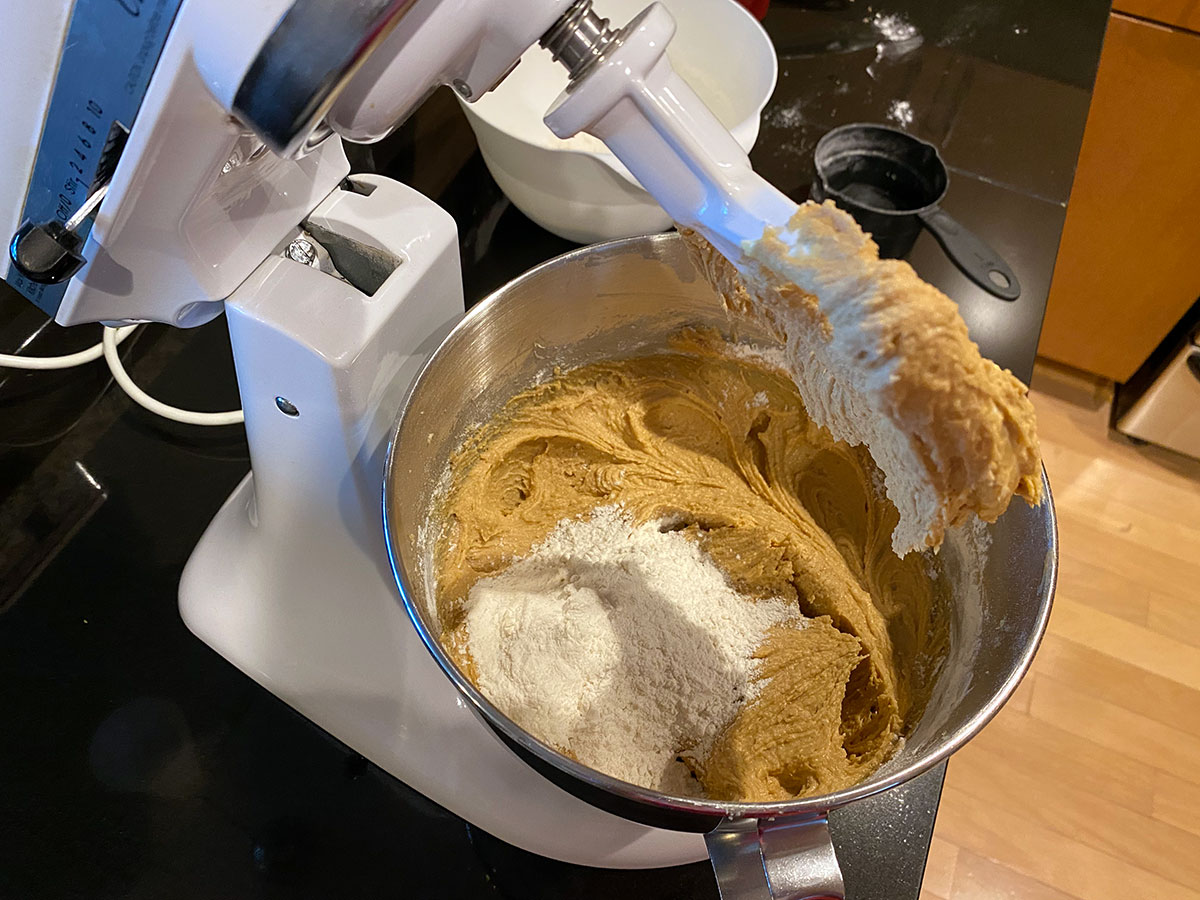
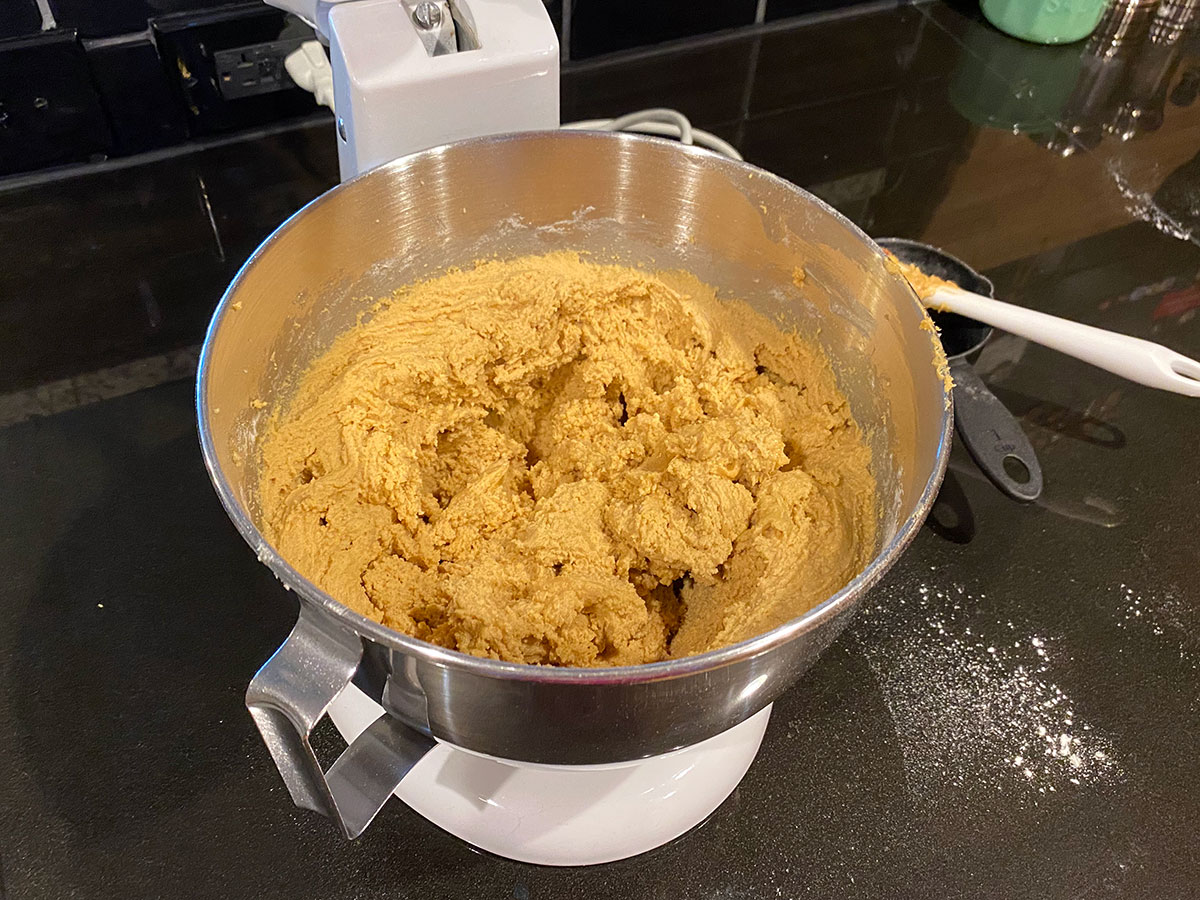
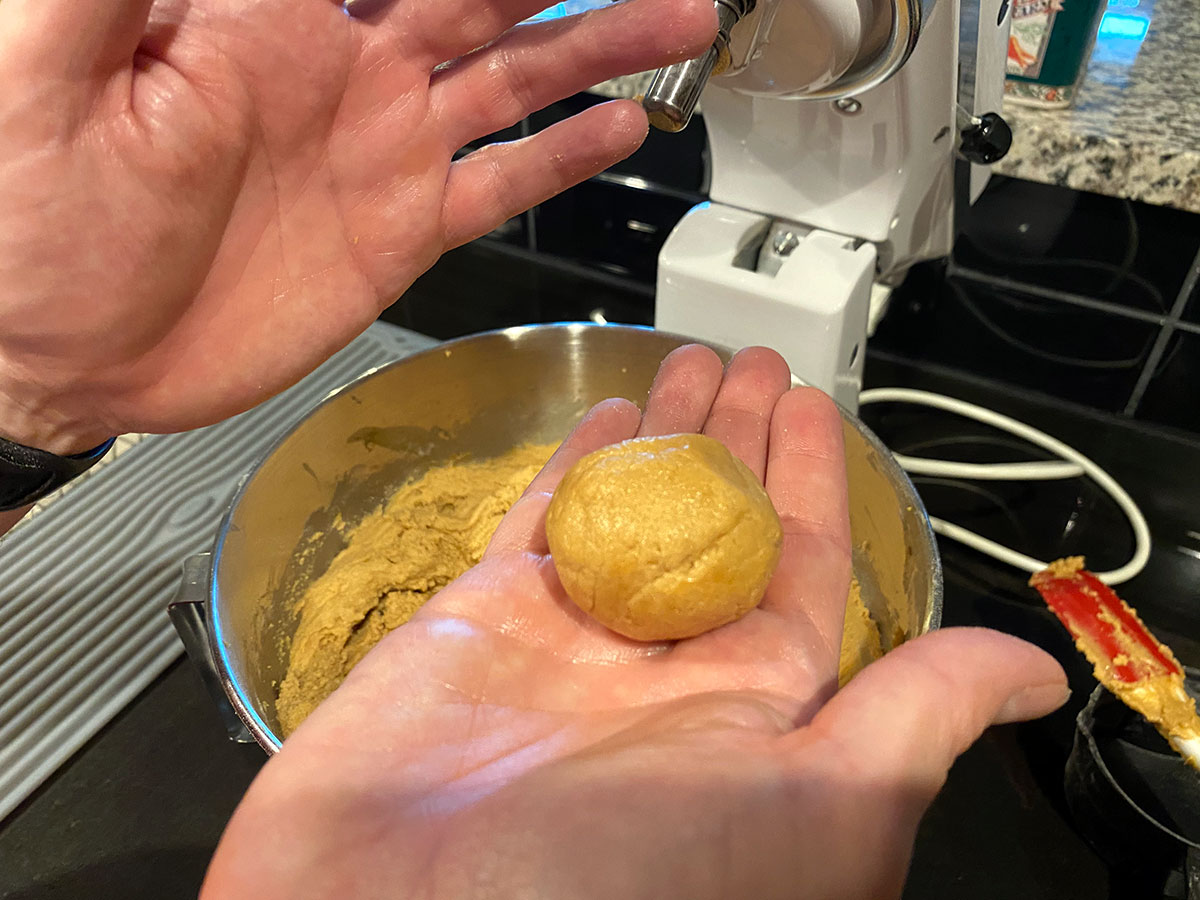
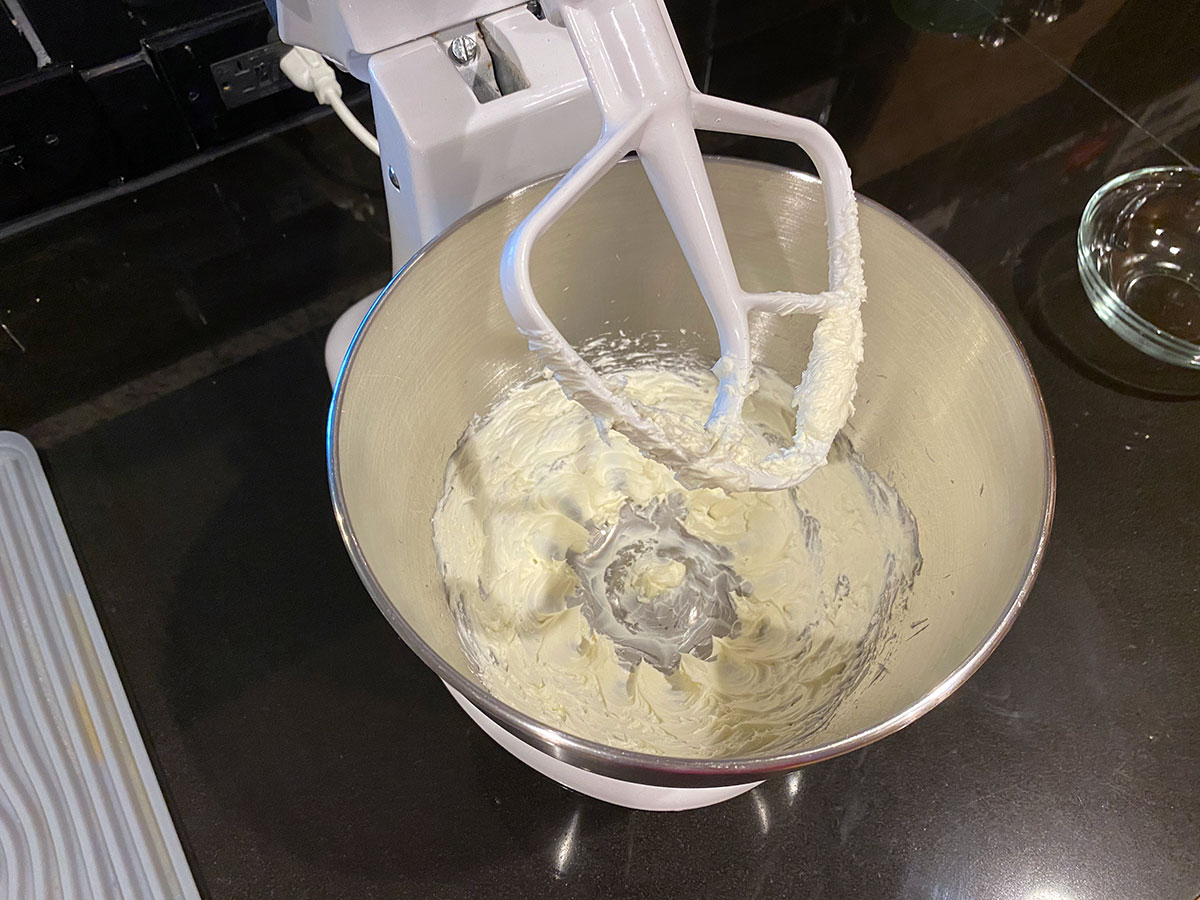
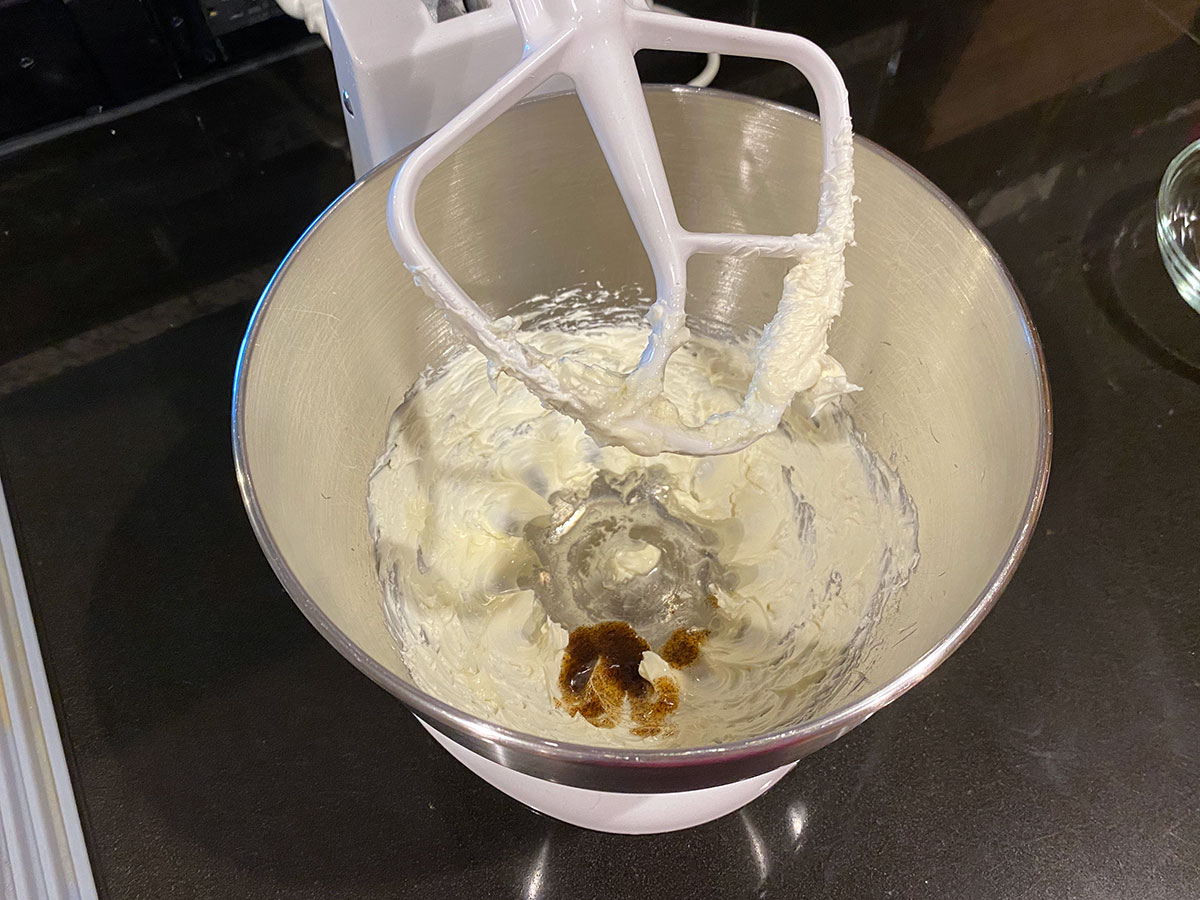
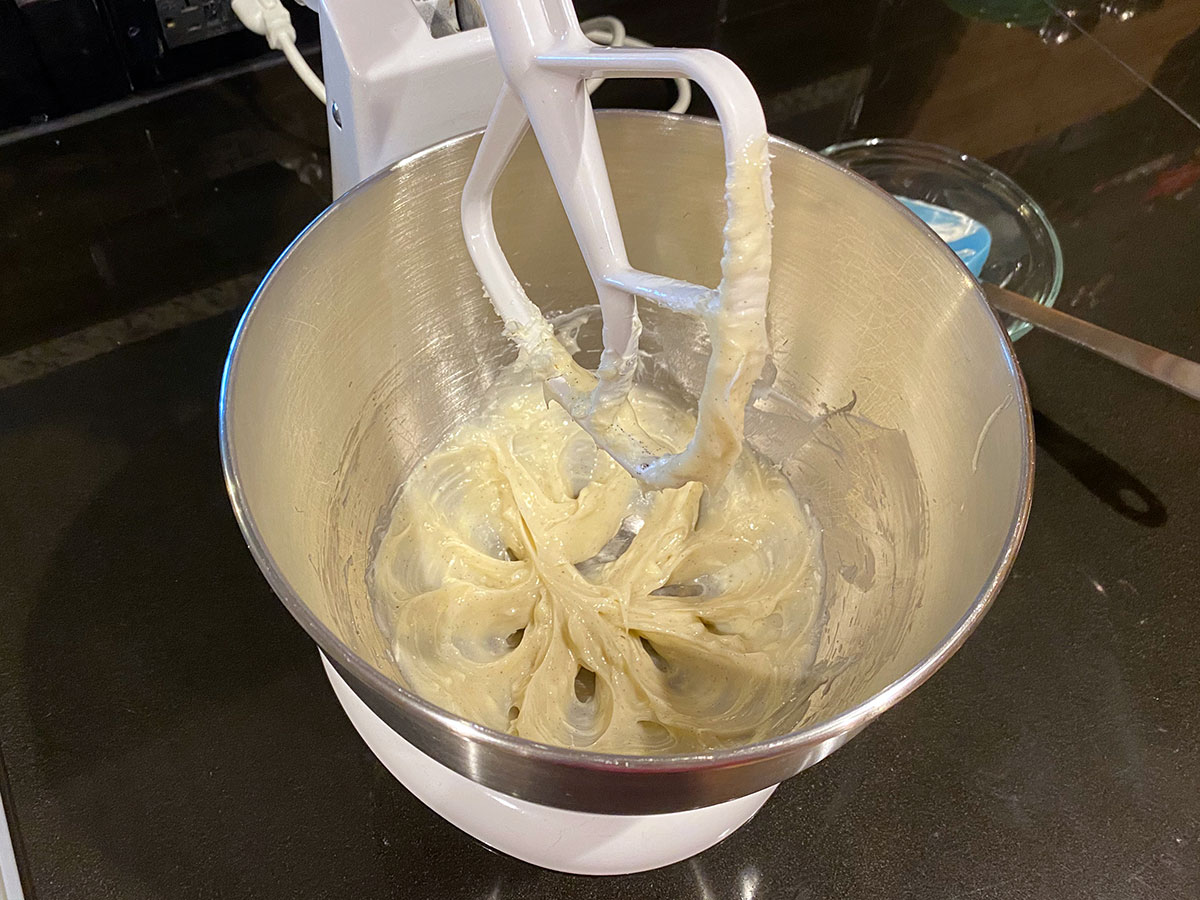
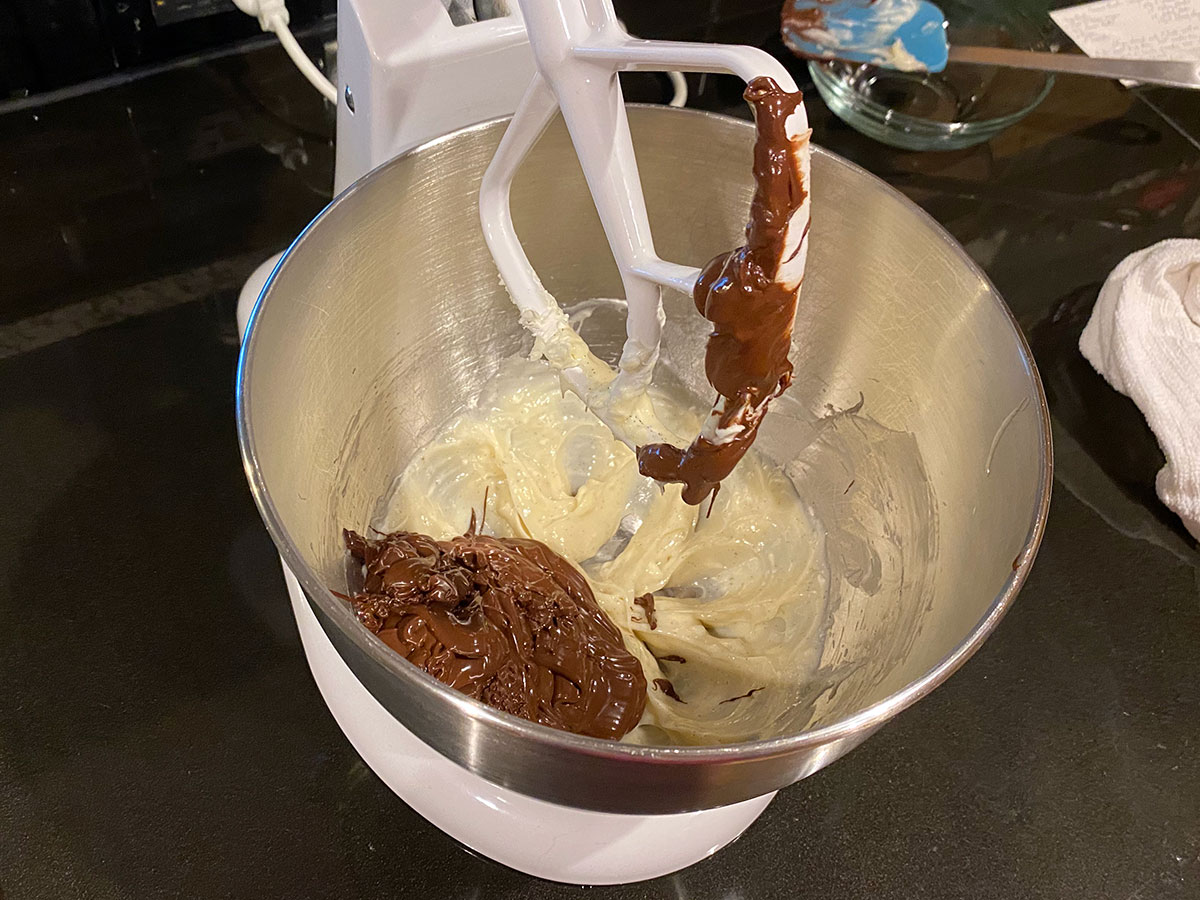
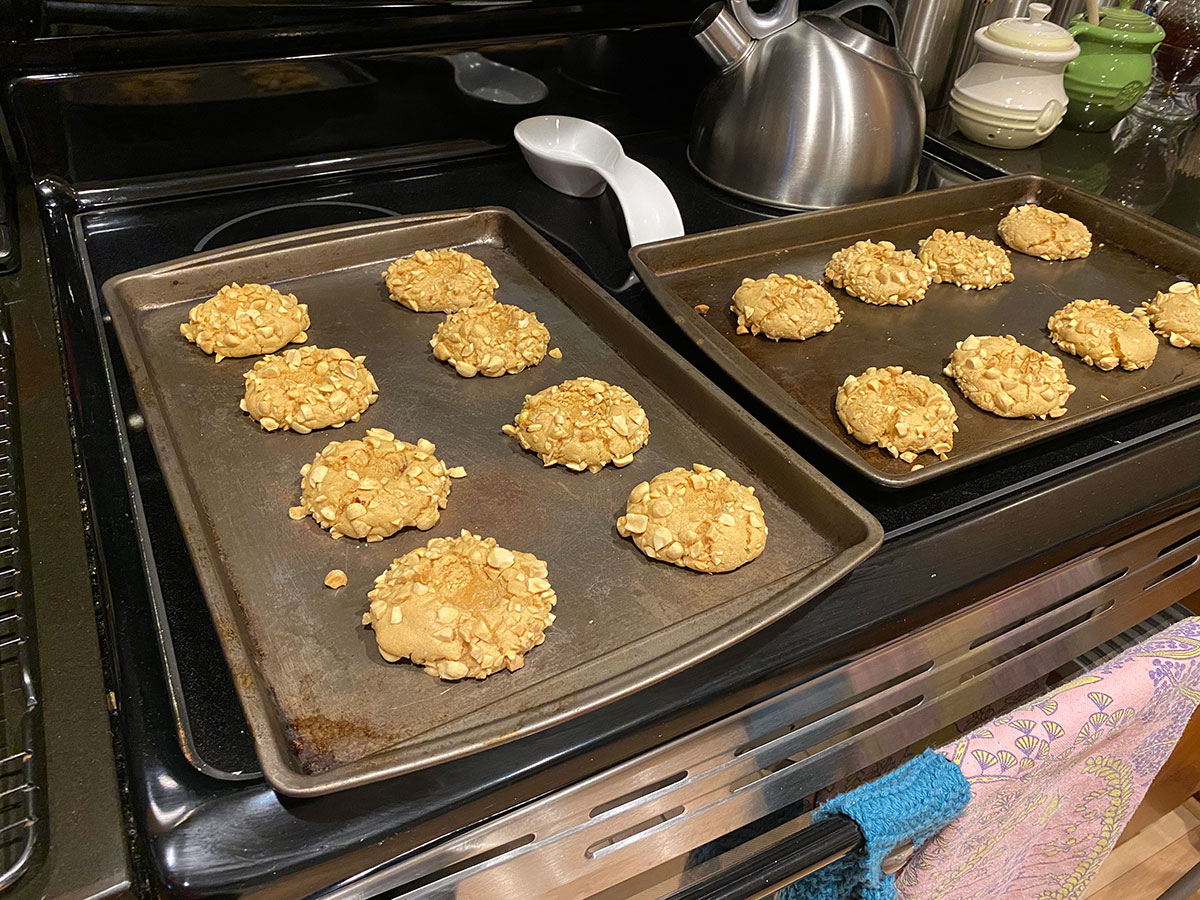
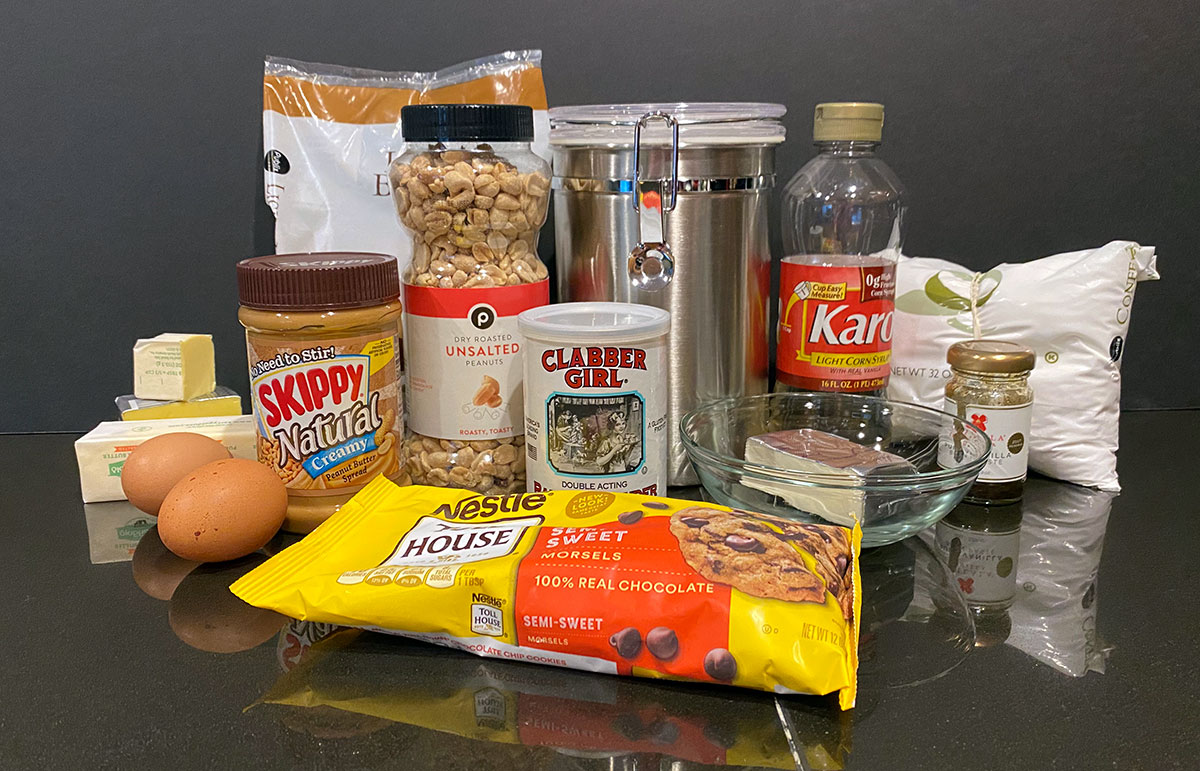
The dough is basically a really great peanut butter cookie dough. Not to complicated although I strongly recommend a pushable adjustable measuring cup for measuring sticky ingredients like peanut butter. They save a lot of time and frustration! Be sure to mix the dough, as always until just combined and don’t over work once the flour goes in. Also, these cookies can easily over bake so keep your eye on them and err on the side of less baking time.

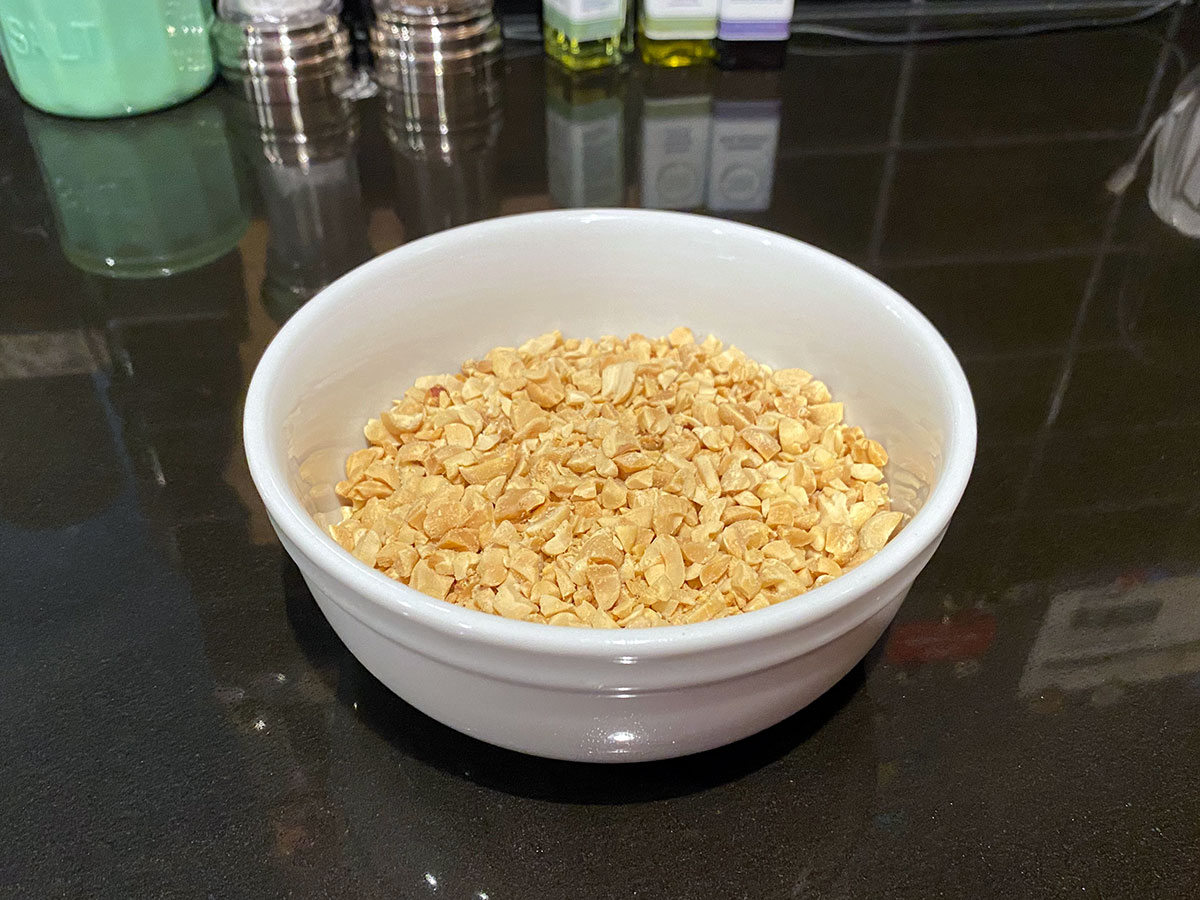
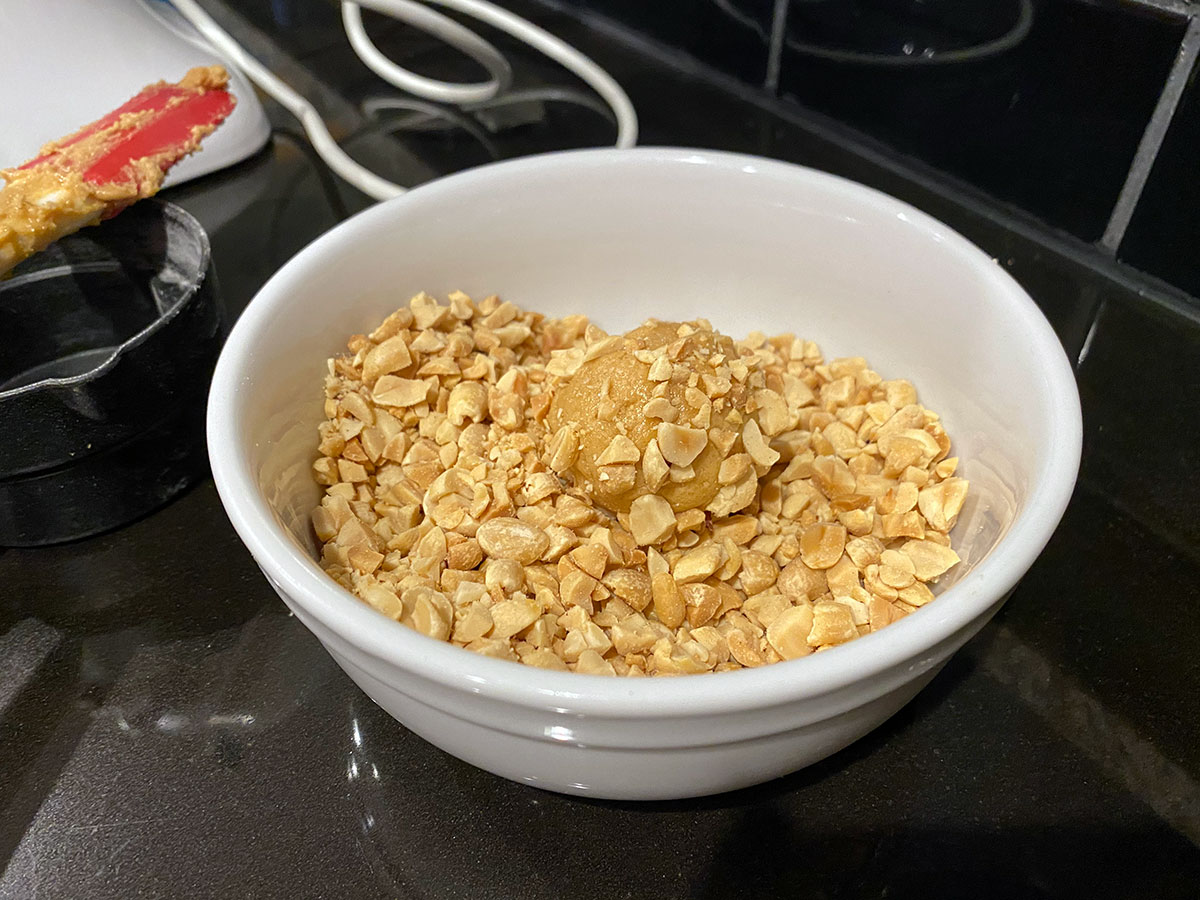
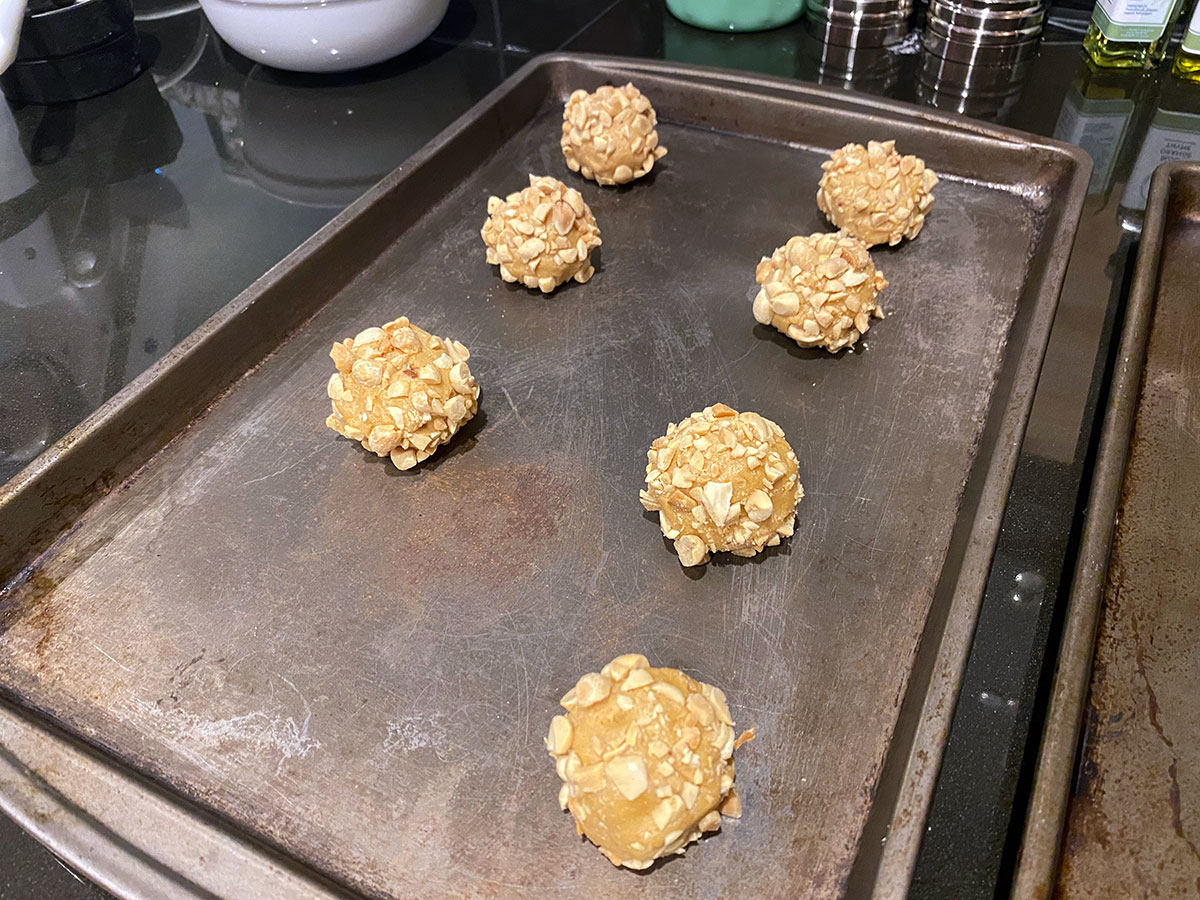
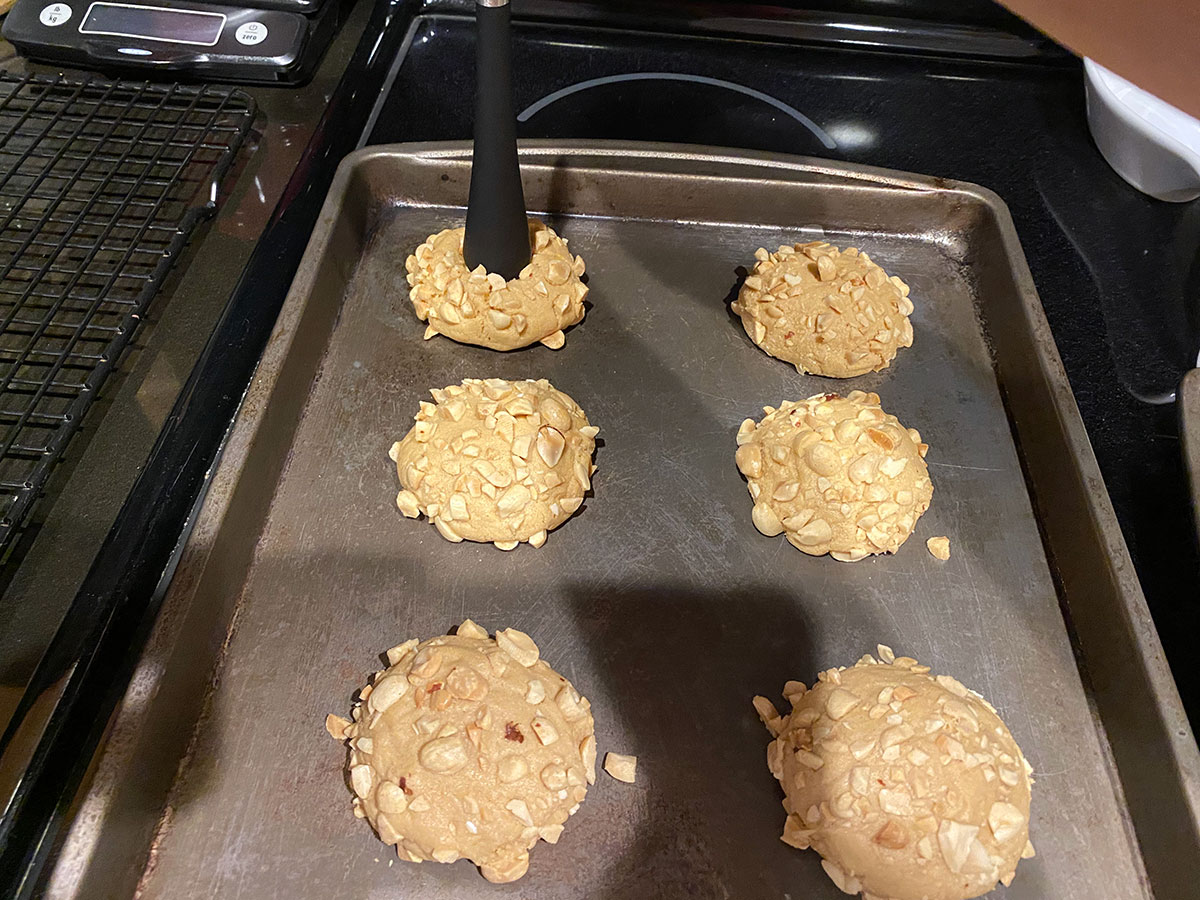
One thing I would change the next time I make these (and there will be a next time!) is to really chop the peanuts more. I think they need to be a much finer texture as the bigger chunks look good, but easily fall of the cookie. Another option would be to keep the bigger chunks and incorporate directly into the dough before rolling into balls.

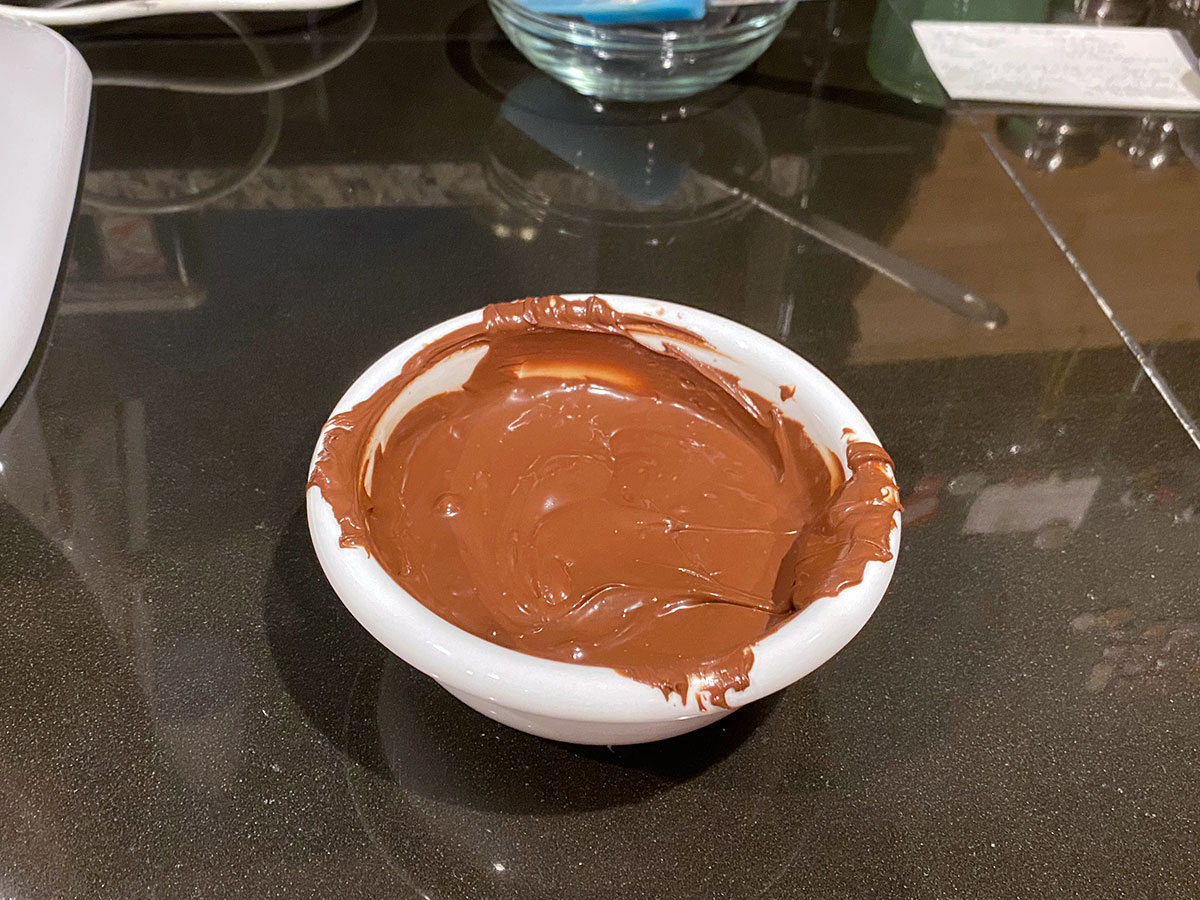
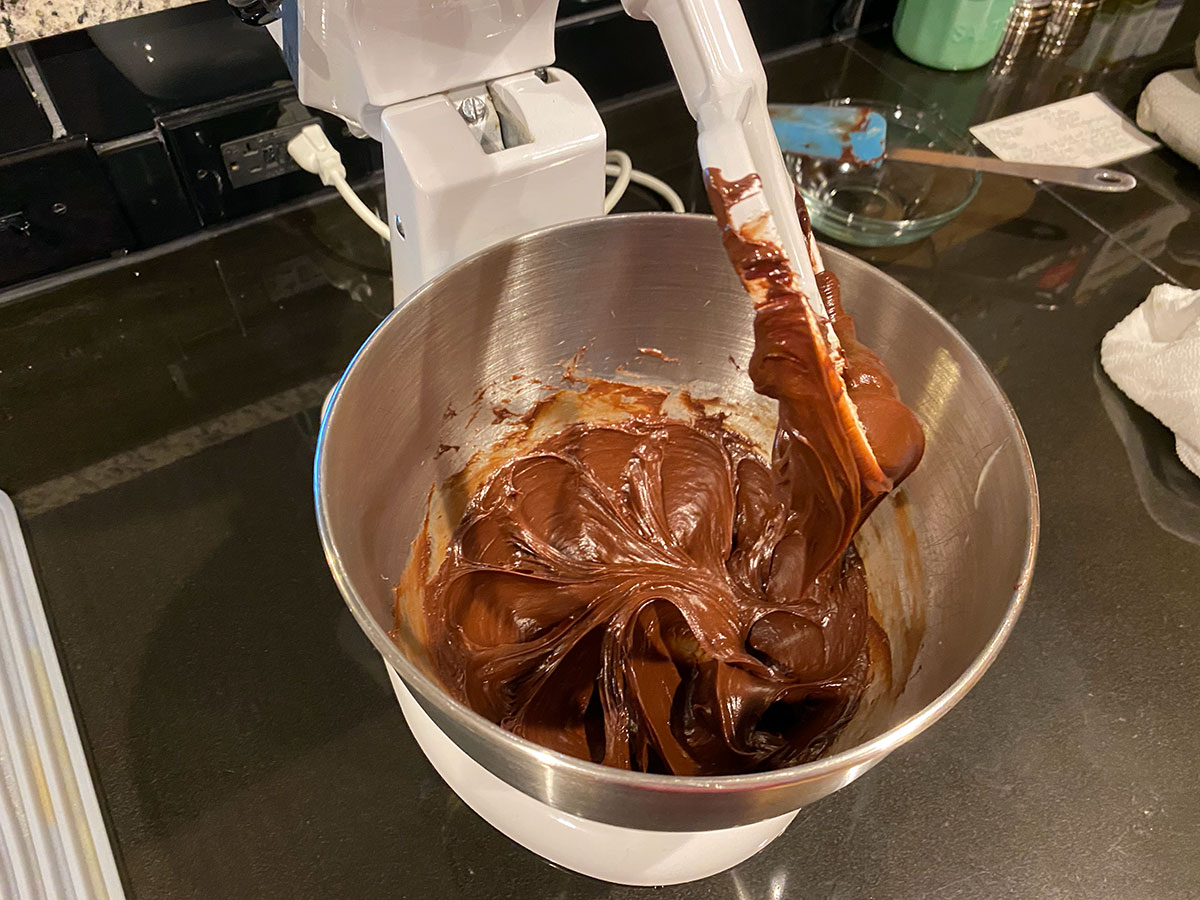
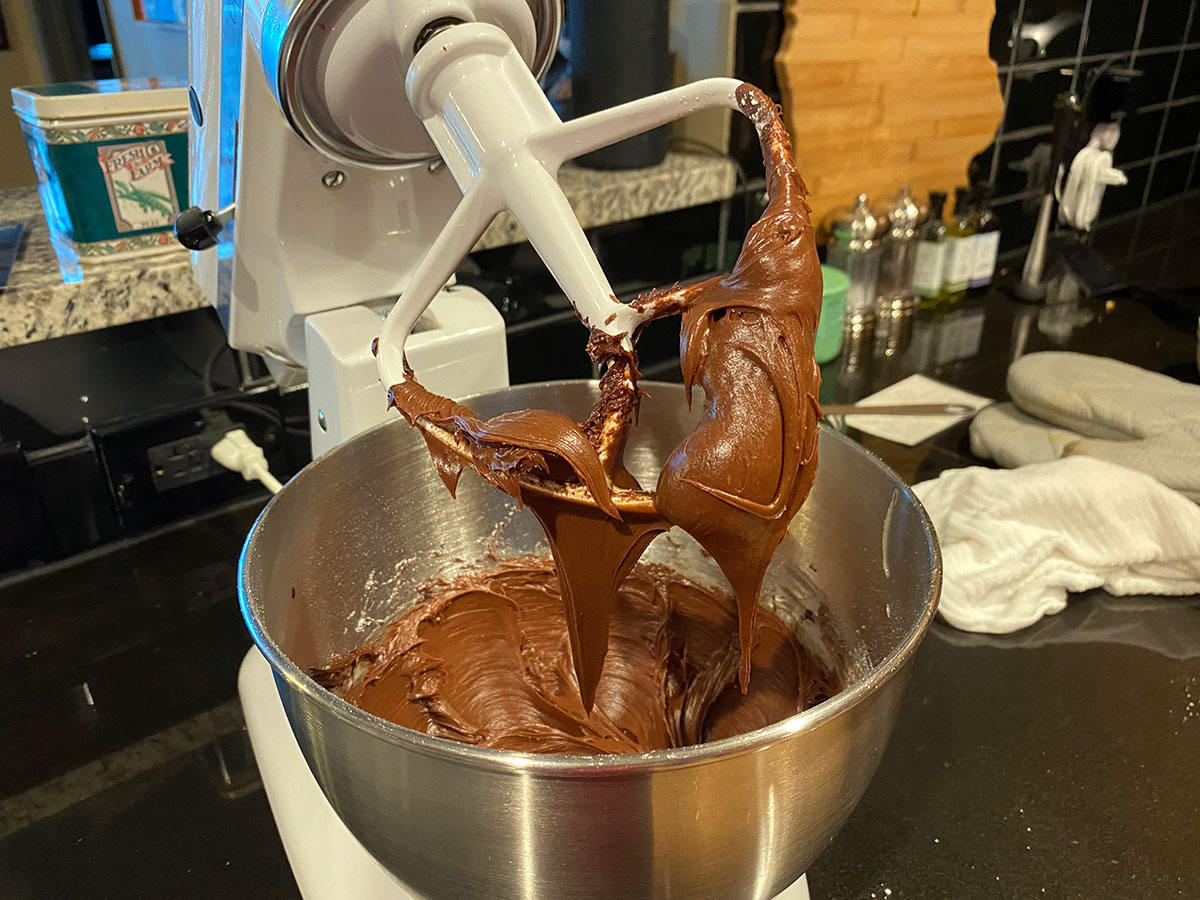
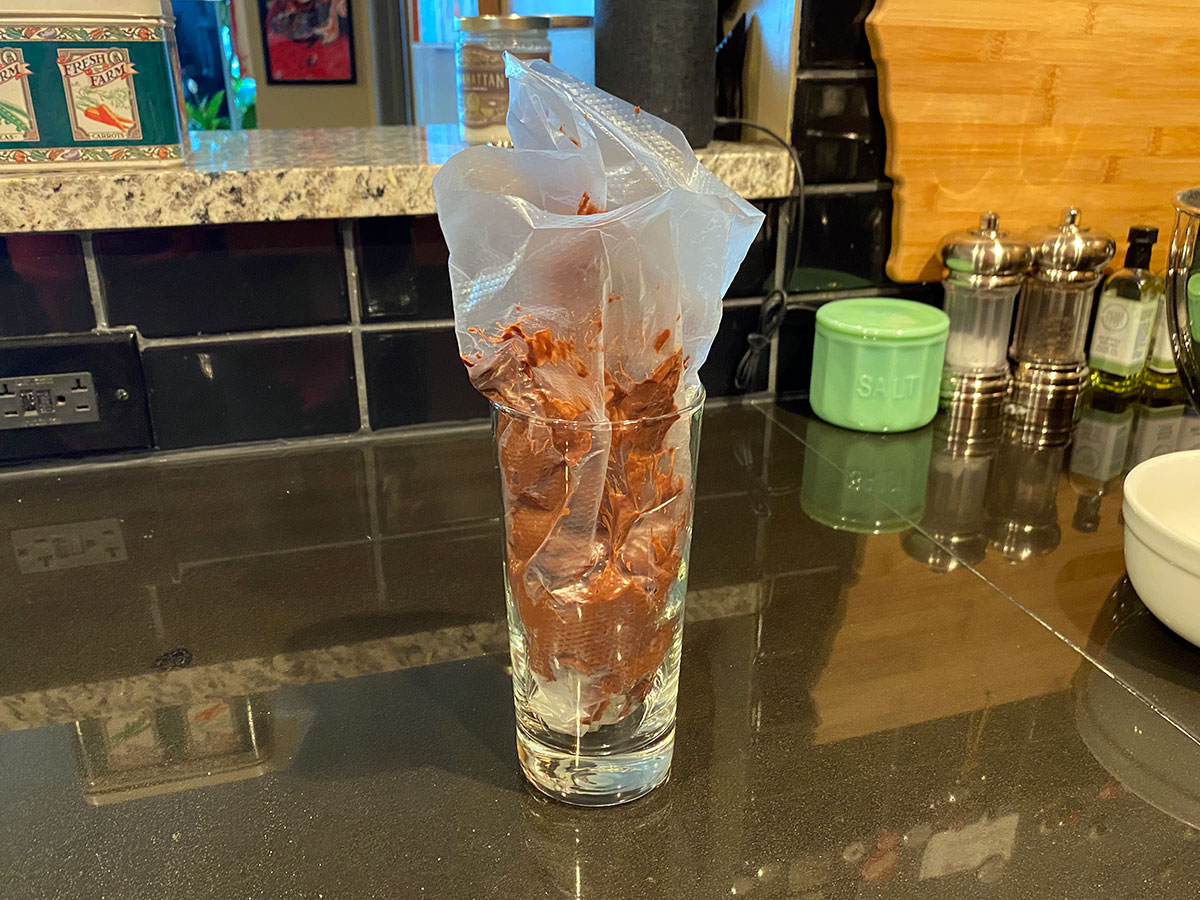
Once they’re done baking, be sure to allow them to cool on the tray for about five minutes and then cool completely on wire racks. If the cookies aren’t completely cool, the frosting will melt and it’ll be hard to get a good looking piping. Grandma suggests just using a spoon to give each cookie of dollop of frosting, but I think the piping looks fun. Spooning it would probably be faster and of course, taste just a good!

I hope you try these vintage Peanut Butter Thumbprint Cookies and treat your crew their yumminess. If you do, tell us about it below!


Peanut Butter Thumbprint Cookies Recipe

Steps:

  • Preheat Oven to 350º 
  • Cream Butter and Sugar 

    Make sure your butter is good and soft and then add the light brown sugar. Start mixing on slow and gradually speed up until the two ingredients are very well blended.

  • Add Peanut Butter 

    Add the peanut butter to the mix and blend well until well combined.

  • Add Eggs 

    Crack the eggs into a separate bowl and then add to the dough. Mix well to combine.

  • Combine and Add Dry Ingredients 

    Add all of the dry ingredients (flour, baking powder, and baking soda) in a bowl and whisk together. Then, add by 1/2 Cup to the dough mixture and mix until just incorporated between each addition.

  • Chop Nuts and Form Cookies 

    Chop the peanuts and put into a bowl. To form the cookies, take about a tablespoon of dough and roll it into a ball. Take the ball of dough and roll it in the chopped nuts gently pressing in the chopped nuts. Take the rolled dough and place it on the baking sheet. I was able to fit about 8 to a tray. Bake for about 8-10 minutes.

  • Start the Frosting 

    While the first batch of cookies are in the oven, put the softened cream cheese in a clean bowl and beat until light and fluffy. Next at the light corn syrup and vanilla and mix again to combine.

  • Melt and Add the Chocolate 

    Put the chocolate chips in a small bowl and microwave for 30 seconds. Stir. Continue to heat the chocolate in 10 second bursts stirring immediately after until the chocolate is melted. Stir thoroughly between 10 second bursts and try to get it all to melt. DO NOT OVER COOK. Once it's all melted, add it to the frosting and mix well to combine.

  • Finish Frosting 

    Add the powdered sugar to the frosting mix and beat well to combine. Scoop out the frosting and put into a piping bag.

  • Finish off the Cookies 

    When the cookies are done baking, take them out of the oven and immediately put a "thumbprint" in the middle. I found the round end of a muddler worked really well. Allow the cookie to cool on the tray for about 5 minutes and then put on a wire rack to cool completely. Once the cookies are room temperature, frost each with about a heaping teaspoon of frosting in the center.

Tags:

Comments:

Leave a Reply

Your email address will not be published. Required fields are marked *